Laptop Keyboard Not Working After Drop
Dropping your laptop can be disheartening, especially when it causes damage that makes it difficult or impossible to use the keyboard. A non-working keyboard poses problems for both productivity and communication. Thankfully, several troubleshooting steps may restore keyboard function after a laptop drops.
Laptop drops occur more often than one might think. A survey in the United Kingdom indicated that on average, laptop owners drop their device 3 times over its lifespan. Falls from tables, beds, couches, and even users’ laps contribute to this tally.
The force from shortfalls may not visibly damage a laptop yet still jostle interior components enough to disrupt keyboard function. Before spending money on repairs, simple software and hardware checks provide the opportunity to resuscitate the keyboard.

Is the Keyboard Broken or is There Any Software issue?
When keyboard troubles arise after dropping a laptop, determining whether hardware or software is the culprit directs troubleshooting efforts. Several quick tests indicate if physical damage limits keyboard functionality or if software issues are at play.
External Keyboard Test
To determine if your laptop’s keyboard issue is hardware- or software-related, connect an external USB keyboard to your laptop. Once connected, try typing text.
External keyboard works:
If the external keyboard works flawlessly, it suggests a hardware issue with your laptop’s internal keyboard. This could be:
- Damaged keyboard ribbon cable: This cable connects the keyboard to the motherboard, and a drop could have damaged it.
- Loose connection: The internal connection between the keyboard and the motherboard might have become loose due to the impact.
- Malfunctioning keyboard: The keyboard itself could have suffered internal damage from the drop.
External keyboard doesn’t work:
If the external keyboard doesn’t work either, it points towards a potential software problem. This could be:
- Software glitch: A minor software issue might be interfering with the keyboard functionality.
- Outdated drivers: Outdated keyboard drivers can sometimes cause keyboard issues.
- More serious hardware problem: In rare cases, the drop could have damaged other components like the motherboard, affecting the keyboard function.
By observing the results of this test, you can get a preliminary idea of the cause of the keyboard issue. However, further troubleshooting or professional assistance might be needed to diagnose and fix the problem definitively.
Re-seat the Keyboard Connector
Re-seating the keyboard connector involves physically disconnecting and reconnecting the cable that connects the keyboard to the motherboard. This can sometimes fix issues caused by loose connections or minor damage to the connector. However, it’s important to note that this procedure requires opening your laptop and involves some technical skill. If you’re not comfortable doing this yourself, it’s best to seek professional assistance.
Step 1 – Power Off the Laptop
Shut down your laptop completely and disconnect it from any power source.
Step 2 – Remove the Battery (if applicable)
If your laptop has a removable battery, take it out. This step is not applicable to laptops with built-in batteries.
Step 3 – Access the Internal Components
Depending on your laptop model, you may need to remove the back panel, keyboard bezel, or any other cover to access the internal components. Refer to your laptop’s service manual for guidance on disassembly.
Step 4 – Locate the Keyboard Connector
Find the ribbon cable that connects the keyboard to the motherboard. It is usually a flat, flexible cable.
Step 5 – Unlock the Connector
Many connectors have a latch or locking mechanism that holds the ribbon cable in place. Use a small tool (such as a plastic spudger or flat-head screwdriver) to gently lift or unlock this latch.
Step 6 – Remove the Ribbon Cable
Carefully detach the ribbon cable from the connector. Hold the cable close to the connector and pull it straight out. Avoid pulling on the cable itself; focus on the connector.
Step 7 – Re-seat the Cable
Align the ribbon cable with the connector and carefully push it back into place. Ensure that it goes in straight and is fully inserted.
Step 8 – Lock the Connector
If there was a latch, lock it back into place to secure the ribbon cable. Be gentle to avoid damaging the latch or the cable.
Step 9 – Reassemble the Laptop
Put back any covers or panels you removed to access the keyboard connector. If you removed the battery, reinsert it.
Step 10 – Power On the Laptop
Power on your laptop and check if the keyboard is now working. Test various keys to ensure that all functions are restored.
Look for Physical Damage
Closely check the exterior of the laptop for indications that the drop impacted internal systems:
Cracked plastic case near keyboard – Points to possible internal damage.
Keycaps or keyboard frame out of alignment – Indicates the underlay may have disconnected.
LCD crack – Shows shock reached fragile components and could have affected connected hardware.
New rattling inside chassis – Suggests pieces shaken loose that could block keyboard function.
Seeing any exterior damage from the laptop drop warrants professional diagnostic service. Even with no visible damage, consider taking high-end laptops in for inspection due to their tightly packed construction.
If no obvious external flaws exist, reversible software issues may cause the keyboard troubles.
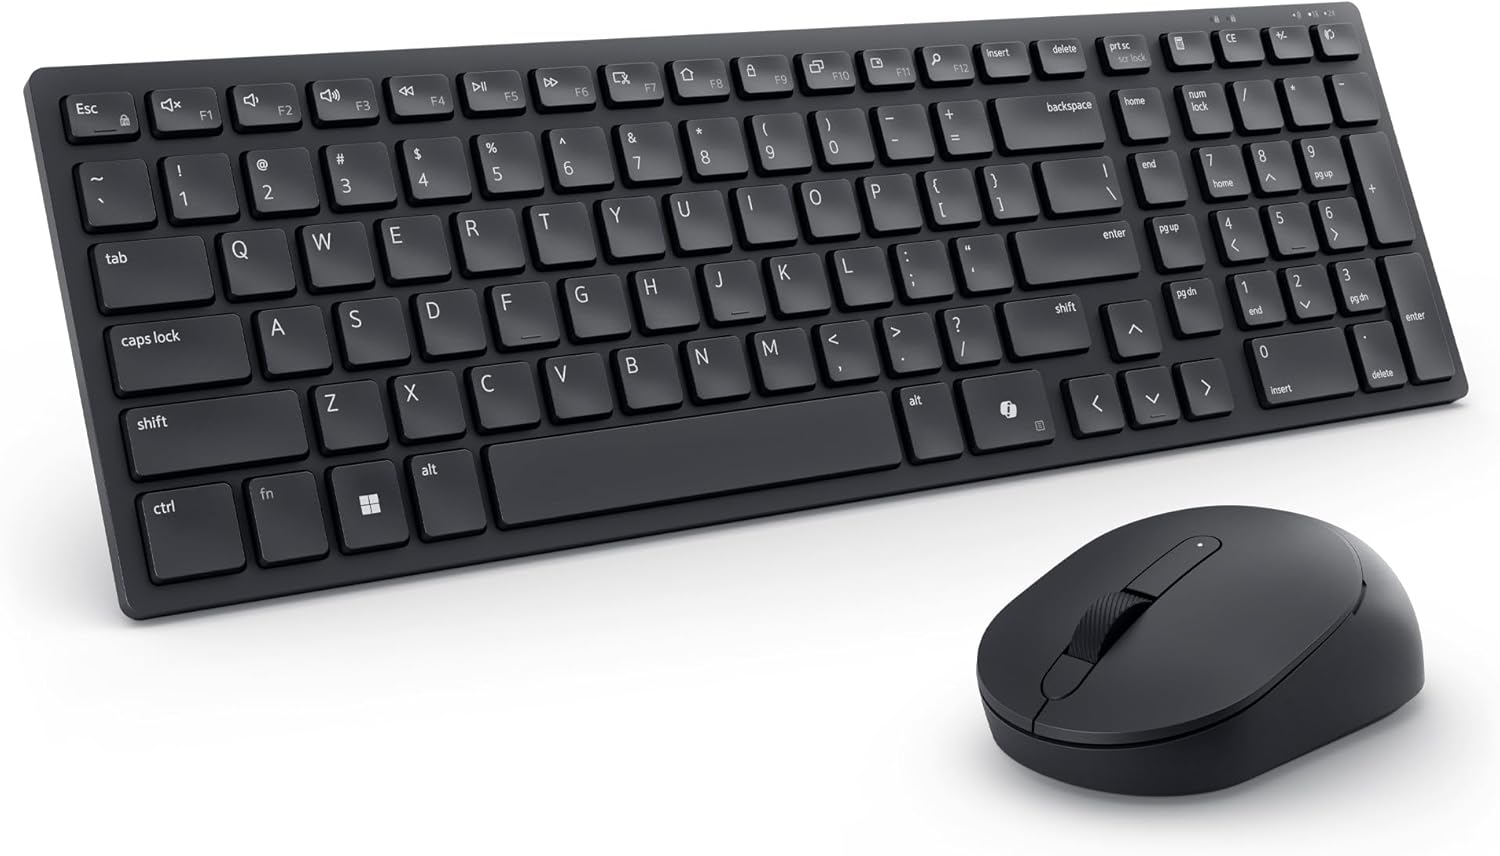
Hot New Keyboards from dell
Dell KB216 (580-ADMT)
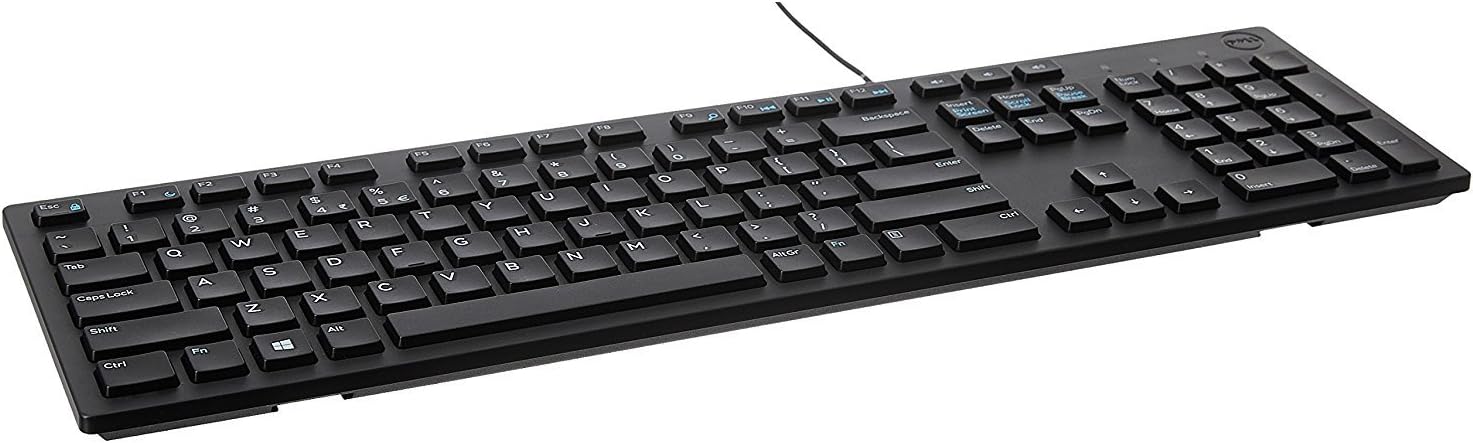
The Dell KB216 Wired Keyboard is a versatile and reliable typing solution ideal for both home and office use. It features a full-sized layout with chi… Read more
Dell KM636 Wireless
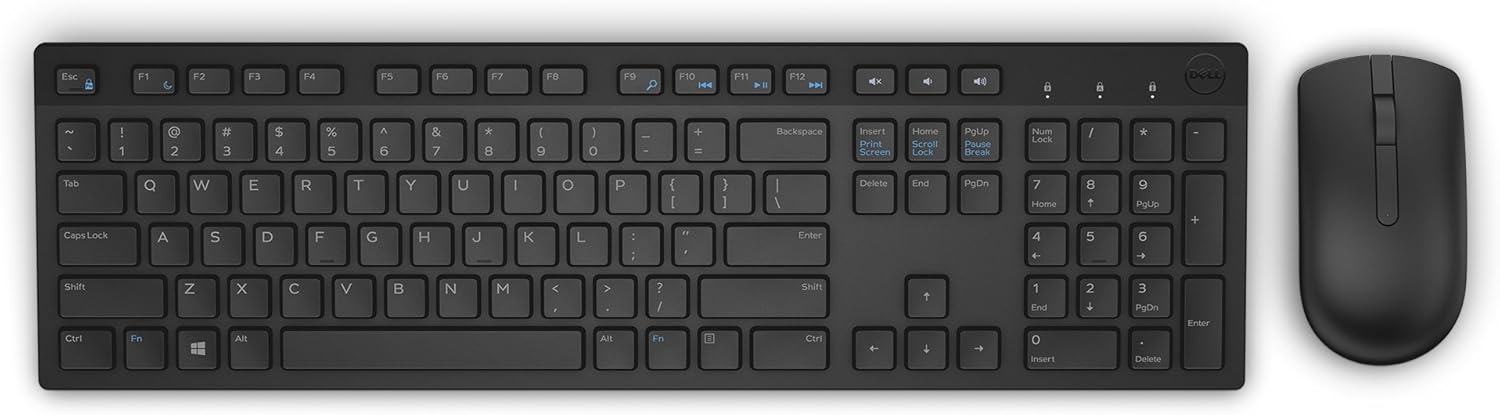
The Dell KM636 Wireless Keyboard & Mouse Combo combines contemporary design with wireless convenience, making it an ideal addition to any modern works… Read more
Dell KB522P
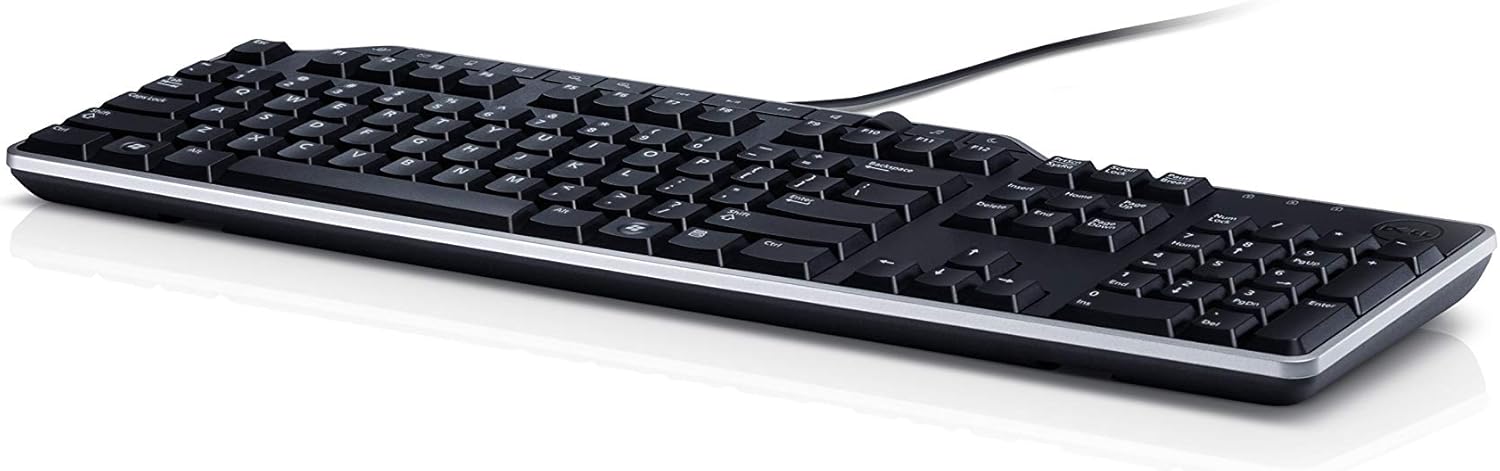
The Dell Business Multimedia Keyboard KB522P is a stylish and functional accessory ideal for both office work and casual gaming. Designed with a moder… Read more
Dell Pro KM5221W Combo
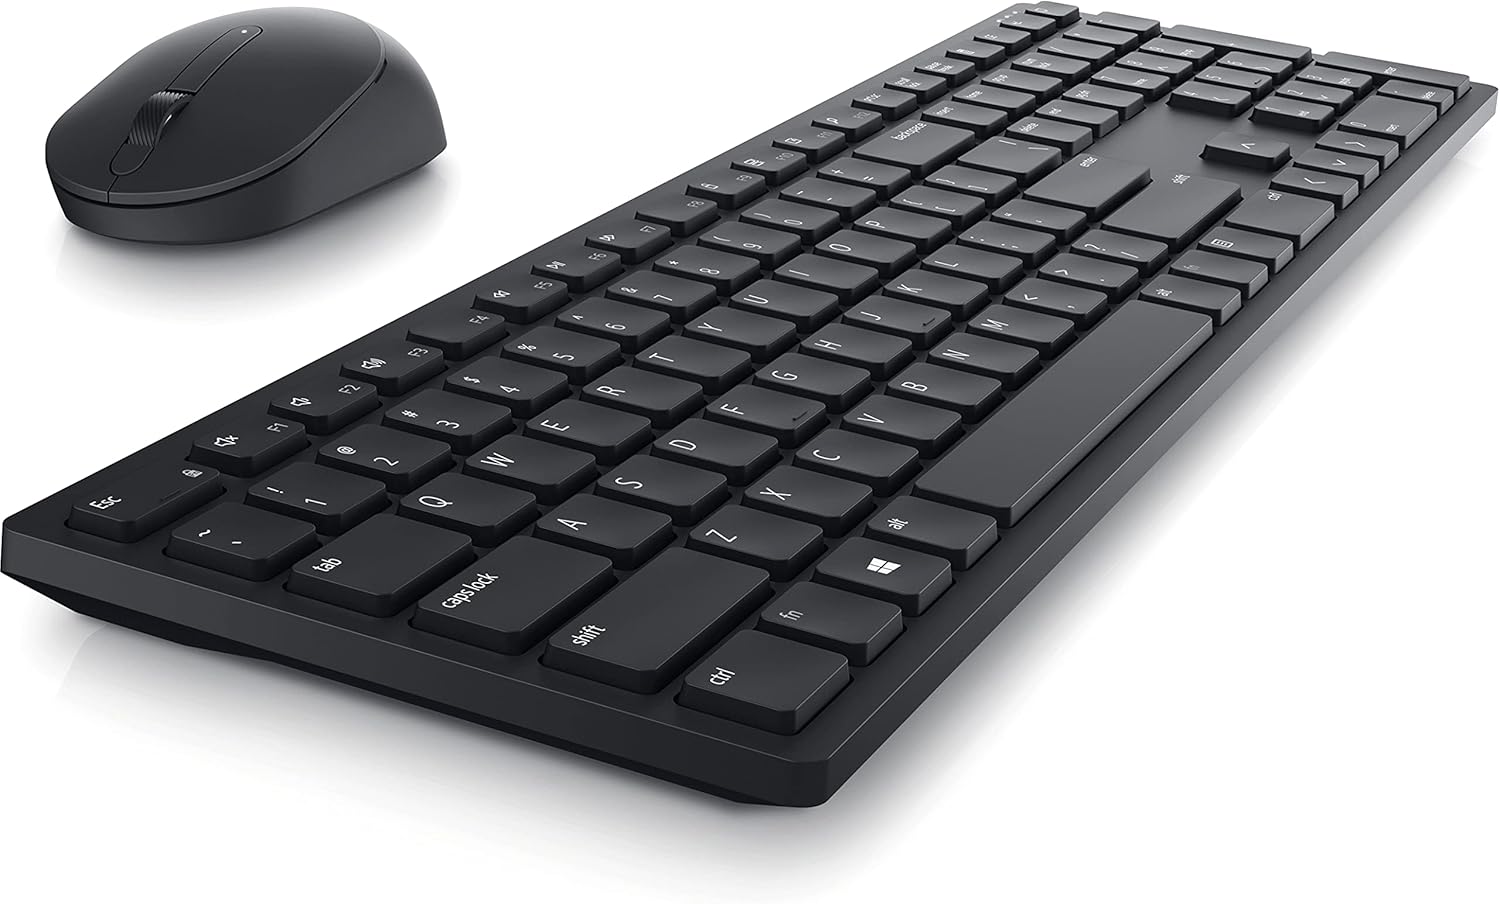
The Dell Pro KM5221W Keyboard & Mouse combo is designed to enhance productivity with its RF 2.4GHz wireless connectivity, offering a clutter-free work… Read more
Dell KM555
The Dell KM555 keyboard and mouse combo is tailored for modern work environments, emphasizing quiet operation to minimize distractions. Its compact de… Read more
What to Do to Revive Your Laptop Keyboard After Having a Drop Test?
A sequence of software checks and tweaks attempt to restore function following a laptop’s fall. Working through these steps provides the keyboard the opportunity to reconnect without incurring repair costs.
Simply Restart Your Laptop
Start troubleshooting by rebooting the laptop. Shut it down, wait several seconds, and restart. This prompts reloading the operating system drivers that operate the keyboard function. The reset may allow the keyboard to sync back up properly.
If the keyboard remains unresponsive after the system restarts, move to the next actions.
Check Device Manager
Access the device manager utility on the malfunctioning laptop
- Right-click the Start Menu and select Device Manager.
- Alternatively, press Win + R to open the Run dialog box, type devmgmt.msc, and press Enter.
- Look for your keyboard device. It might be named Standard PS/2 Keyboard or HID Keyboard Device.
Look for indications of issues with keyboard drivers and connections:
- Yellow warning symbols – Show potential conflicts
- Red X or exclamation symbols – Indicate failed components
- Keyboard disappeared from device list – Points to total failure
Use the device manager to uninstall the keyboard and then detect new hardware which forces a fresh install of drivers.
If the keyboard shows up but still proves unresponsive, further steps investigate.
Disable and Re-enable the Keyboard
Going through the process of turning off and then renewing detection of the keyboard essentially gets it to re-introduce itself to the operating system. Shutting it down and then bringing it back online may re-establish broken communication between keyboard and laptop.
On Windows
- Right-click your keyboard in Device Manager.
- Select Disable device.
- Confirm the prompt with Yes.
- Wait for a few seconds.
- Right-click your keyboard again.
- Select Enable device.
Note: Disabling and re-enabling the keyboard can sometimes resolve minor software issues that interfere with its functionality. However, it won’t fix hardware-related problems like damaged cables or internal keyboard components.
If the keyboard doesn’t work after re-enabling it, you might need to:
Update the keyboard drivers:
- Right-click your keyboard in Device Manager.
- Select Update driver.
- Choose Search automatically for updated driver software.
Uninstall and reinstall the keyboard drivers:
- Right-click your keyboard in Device Manager.
- Select Uninstall device.
- Check the box next to Delete the driver software for this device.
- Click Uninstall.
Restart your computer. Windows will automatically reinstall the keyboard drivers.
Mac OS –
- Open the Keyboard Viewer by going to System Preferences > Keyboard > Input Sources and selecting Show Input menu in the menu bar.
- Click the Input menu icon in the menu bar.
- Select Turn Keyboard Viewer On.
- Click the Keyboard Viewer window and choose Hide Keyboard.
- To re-enable the keyboard, click the Keyboard Viewer window again and choose Show Keyboard.
Take Your Laptop to a Technician
If no functionality is restored through software interventions, physical damage likely causes the disabled keyboard. Professional service provides electronic diagnostics and component testing to determine required repairs. Cost often stays reasonable if internals only need re-seating versus full replacement.
Some laptop manufacturers, like Dell, Apple, and Lenovo, offer repair options directly coordinated online. Utilizing their repair services ensures genuine replacement parts and factory-authorized fixes. Independent shops offer more affordable services but use third-party components.
Back up important laptop files before relinquishing them for service to avoid data loss. Be ready for 1-5 days without the laptop during repair turn-around.
Conclusion
Dropping your laptop resulting in keyboard failure poses severe functionality problems but does not automatically equate to expensive parts replacement or device replacement. Methodically working through software resets, driver restarts, and hardware reconnections resurrects some keyboards damaged in falls. Checking for external damage provides clues to when professional service is required for physical repair versus further troubleshooting. Through backups and patience, even serious drops do not have to result in laptop loss. Stay persistent applying keyboard revival steps before declaring your laptop keyboard broken for good after a damaging drop.