0 Key Stuck
Having a keyboard key that gets stuck can be extremely frustrating. Especially when it’s a frequently used key like the 0 key used for entering numbers. A sticking 0 key prevents you from reliably inputting digits, making most computer tasks more difficult.
Thankfully, there are several ways to troubleshoot and fix a stuck 0 key, from simple cleaning to replacement. With some effort, you can get your keyboard working smoothly again. This guide takes you through step-by-step solutions, from quick home remedies to professional repairs. Read on to learn what causes stuck keys and how to unstick a 0 key for good.

Why is the 0 Key stuck on My Keyboard?
A 0 key can get physically stuck on your keyboard for several reasons:
Dust and debris buildup – Small particles like crumbs, dirt, and hair can accumulate under and around keys over time. This debris can jam the key mechanism.
Spilled liquids – Accidental spills on your keyboard can leave a sticky residue that gums up key switches and stabilizers. This prevents smooth key movement.
General wear and tear – With heavy everyday use over the years, key mechanisms suffer physical damage and lose smooth function. This gradually makes keys sticky and sluggish.
Faulty stabilizers – Keyboard stabilizers center longer keys and enable smooth vertical movement. Broken or loose stabilizers can disable free key action.
Broken key switches – Each key has an internal switch that gets pressed with keystrokes. Faulty switches misalign or break entirely, causing keys to jam.
These underlying issues make a key physically stick on the down or up position, repeating or not registering keystrokes reliably. Identifying the exact cause on your keyboard helps pick suitable troubleshooting methods.
What to Do to Fix the 0 Key Stucking Issue?
Several DIY techniques can unstick and restore smooth function for a sticking 0 key on your keyboard:
Clean the Key
This is often the simplest and most effective solution. Turn off your computer or disconnect your keyboard and gently flip it upside down.
1. Check for visible debris stuck around the key. Use a small brush, toothpick, tweezers, or compressed air to gently dislodge it.
2. Twist the key gently to break any sticky residue binding it. Remove the key cap carefully if easily removable.
3. Clean the key switches, internals, and socket area thoroughly using cotton buds and rubbing alcohol.
4. Allow it to fully air dry before reattaching key caps or reconnecting the keyboard.
5. Test the key function multiple times to ensure smooth, bounce-free presses before regular use.
Thorough cleaning can successfully fix stuck keys in older keyboards with extensive dust buildup.
Clean and Reinsert the Stabilizer of the 0 Key
Keyboard keys like 0 often use long stabilizer bars under bigger keys for smooth vertical operation:
- Unclip the 0 key carefully to access the stabilizer bar and detach it.
- Clean the stabilizer stems thoroughly using alcohol to remove gunked lube.
- Put a tiny drop of fresh keyboard lube on the stabilizer stem contact points. Avoid overlubricating.
- Reinsert the stabilizer ensuring full crisp snaps, and reattach the key cap.
- Press the key multiple times checking centering and springiness. Lubricate and tweak alignment if needed.
Realigning and lubricating stabilizers often rescue stuck larger keys.
Replace the 0 Switch (Applicable for Hot Swappable Keyboard)
If you are using a mechanical hot-swappable keyboard and if the key switch is damaged, then you can replace the switch by yourself. Here are the steps below –
Remove the keycap: Use the keycap puller to gently pry the keycap off the 0 key switch. Be careful not to damage the keycap or the switch.
Extract the faulty switch: Use the switch puller to grip the top housing of the switch and pull it straight out of the socket. Be careful not to bend the pins of the switch.
Insert the replacement switch: Align the pins of the new switch with the holes in the socket and gently push it straight down until it clicks into place.
Reattach the keycap: Place the keycap back on the switch stem and press it firmly until it snaps into place.
Test the switch: Once you’ve replaced the switch and keycap, test the 0 key to ensure it’s functioning properly.
Swapping the faulty switch for a fresh one commonly fixes stubborn sticky key issues arising from worn components.
Replace the 0 Key
If the key cap alone suffers damage, replace it with a new one:
Procedure for Internal Keyboard
- Determine precise laptop keyboard model from codes under the hood/backplate.
- Source an OEM replacement 0 keycaps for proper fit. Aftermarket ones vary in stem fit.
- Refer to the service manual for the exact keycap removal process to avoid breakages. Gently unclip at an angle.
- Press the replacement cap evenly over the switch stem till it snaps fully into the retention hooks.
- Check clipping stability and key responsiveness. Adjust alignment if needed.
Procedure for External Keyboard
- Detach the sticky 0 key first. Note internal stem mount type – cross, cruciform, etc.
- Purchase a replacement keycap matching keyboard make and size with a suitable stem style.
- Line up the new cap properly and gently push in till it clicks over the switch securing it.
- Test key for wobble and smooth stroke. Repeat with adjusted alignment if unstable.
Swapping damaged keycaps restores both the appearance and function of sticky keys damaged externally.
Best Keyboards
AULA F75 Pro Wireless
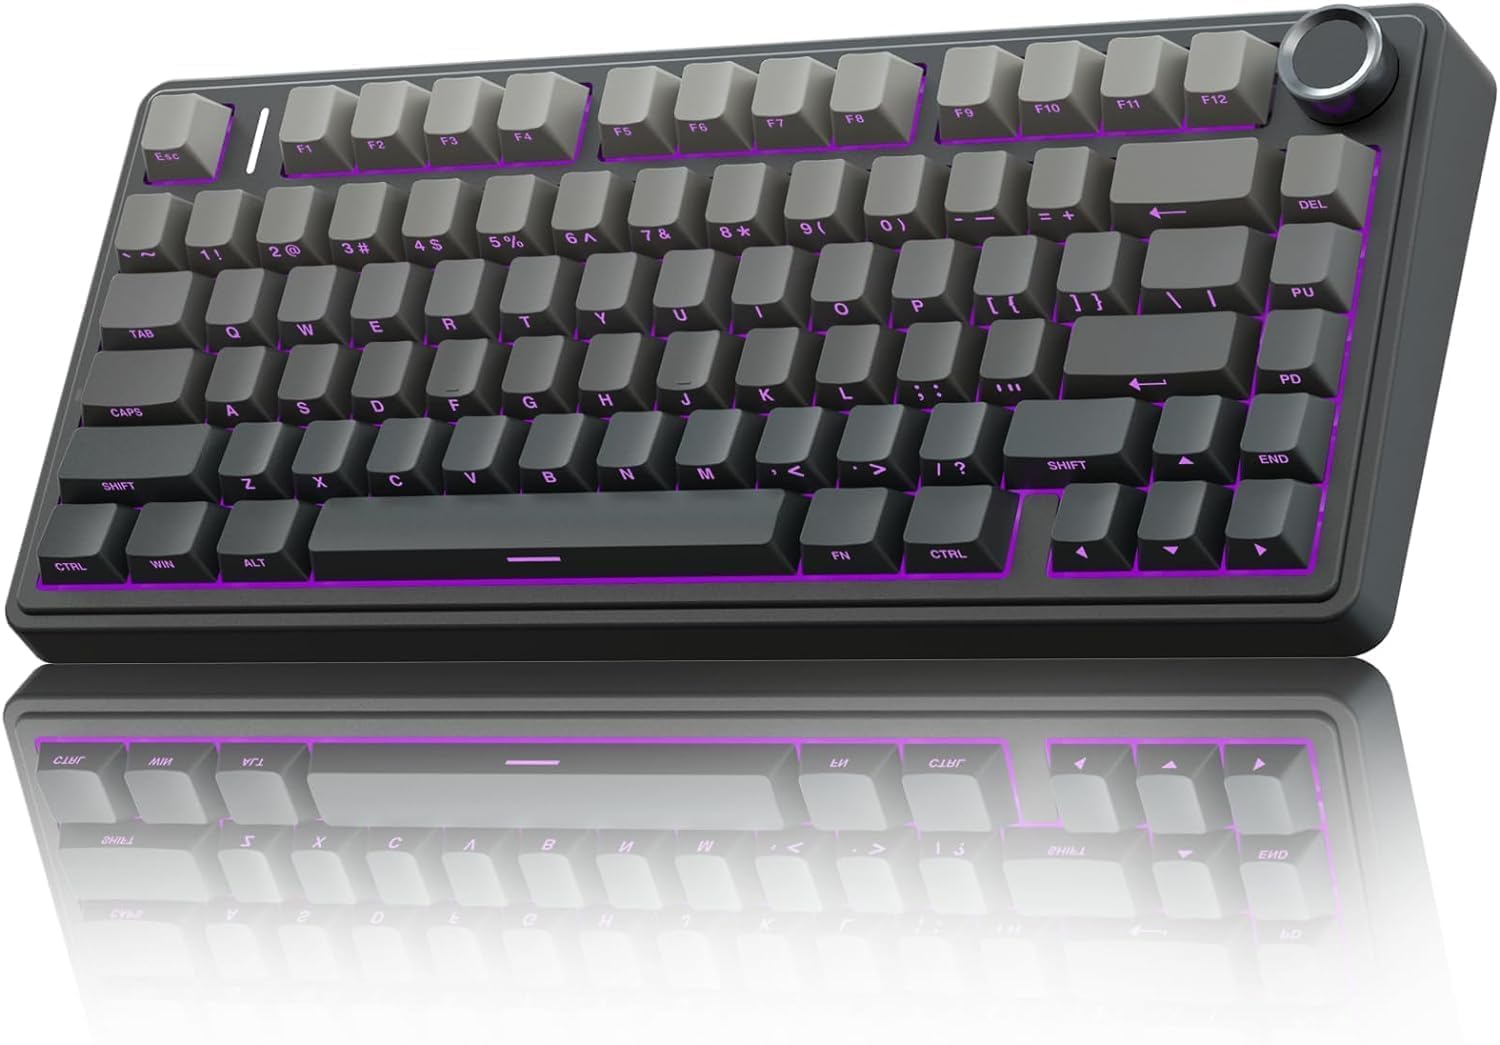
The AULA F75 Pro Wireless Mechanical Keyboard is a versatile and stylish option for gamers and professionals, featuring a compact 75% layout. It offer… Read more
Womier S-K80
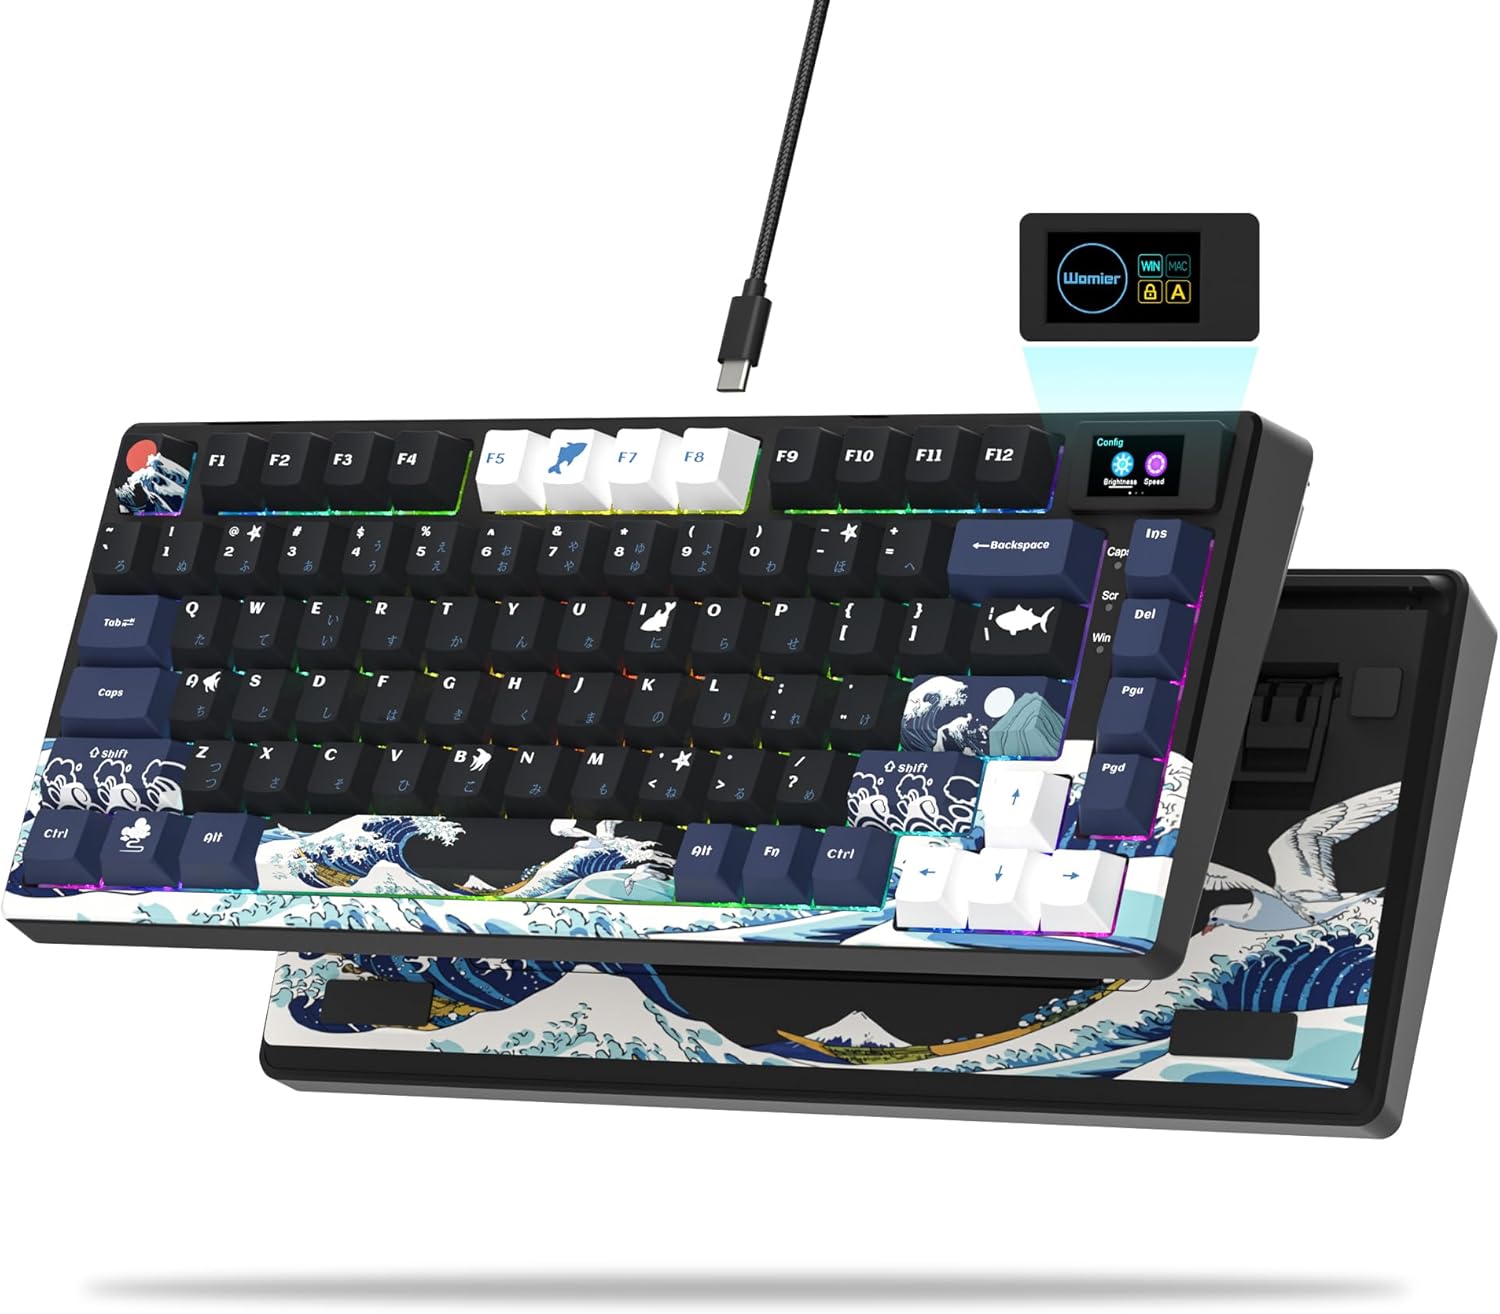
The Womier S-K80 is a premium 75% multimedia mechanical gaming keyboard designed to enhance both performance and aesthetics. Featuring a striking blac… Read more
HyperX Alloy Origins Full

The HyperX Alloy Origins Full is a high-performance gaming keyboard designed for serious gamers, featuring custom HyperX mechanical switches that prov… Read more
HyperX Alloy Origins Core TKL
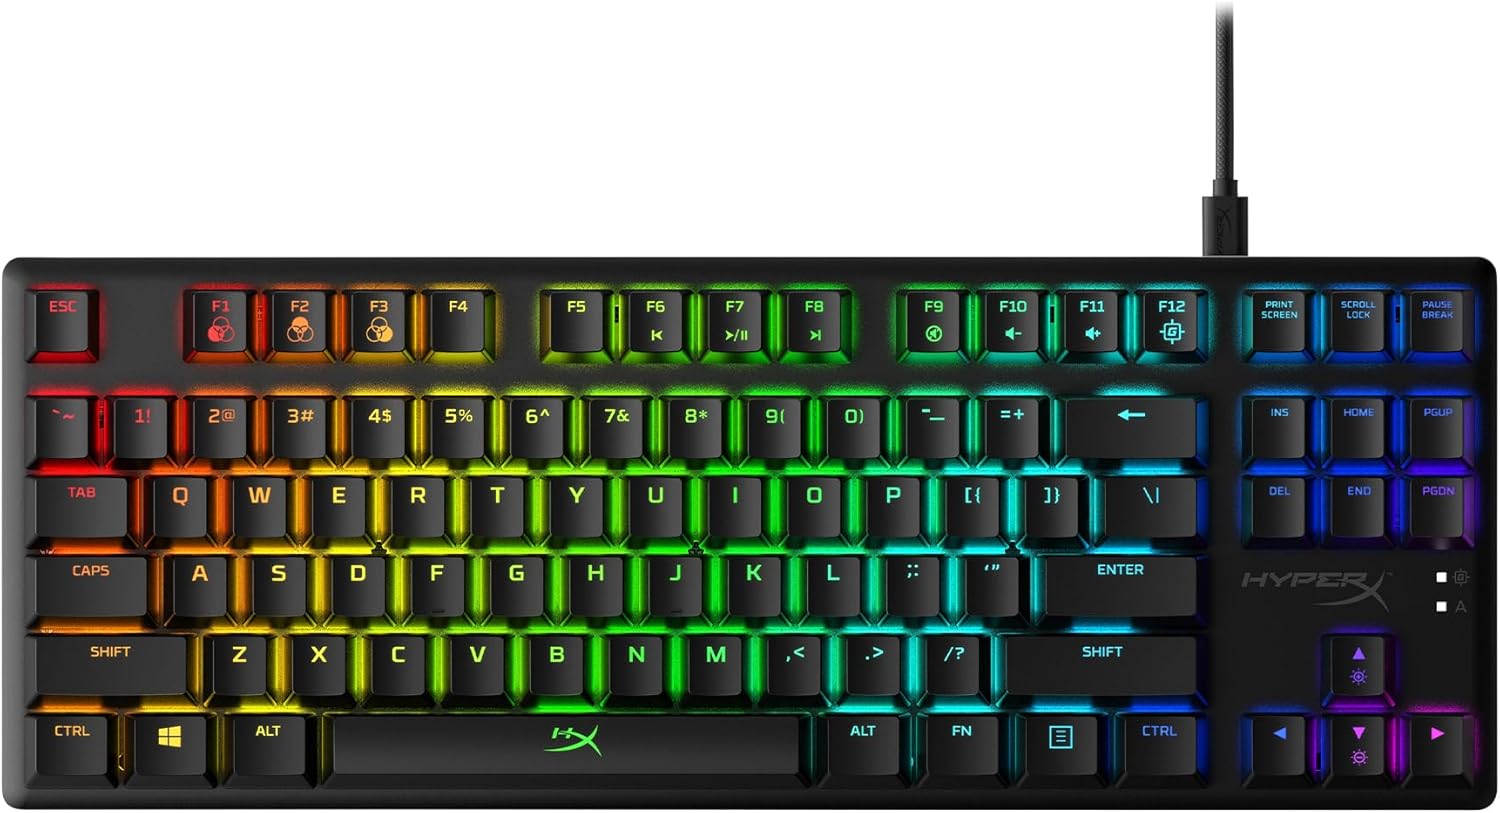
The HyperX Alloy Origins Core TKL is a high-performance tenkeyless mechanical keyboard designed for gamers who prioritize both responsiveness and port… Read more
HyperX Alloy Origins 65
The HyperX Alloy Origins 65 is a compact 65% mechanical keyboard designed for gamers seeking both performance and space-saving functionality. Its dura… Read more
What If All Methods Failed to Solve the 0 Key Stuck Issue?
If DIY methods don’t successfully rescue a persistently sticking 0 key, a couple of options remain before replacing the entire keyboard.
Disable or Remap the 0 Key
Using the OS/external software you can:
A. Temporarily disable the 0 key if not essential.
B. Permanently remap the 0 functionality over to Insert/End or NumPad keys instead.
Remapping as a workaround lets you regain numeric input ability losing the 0 key temporarily.
- Download and install SharpKeys
- Run the app
- Click on Add.
- Select 0 from the dropdown
- Click type new key
- Press the any unused key
- Click Add
- Apply the change and exit
Take the Laptop to the Technician or Service Center
If you’ve tried all the DIY solutions to fix your stuck 0 key, and nothing seems to work, it might be time to take your laptop to a professional. Here’s what you can expect:
Service centers: These are authorized repair centers for specific brands or manufacturers. They offer a more standardized and guaranteed repair process, often using original parts. However, they may be more expensive and have longer wait times.
Technician: Independent technicians can offer competitive rates and quicker turnaround times. However, their expertise and quality of service may vary. It’s important to choose a reputable technician with experience in your laptop brand and keyboard repairs.
Preventive Measures for Future
Practice proper keyboard hygiene and careful use to avoid repeat stuck keys in the long run:
Use a Keyboard Cover
Using a flexible, thin keyboard cover is an easy way to prevent dust and debris from getting lodged between your keys. The cover fits neatly over the keyboard without inhibiting typing. Look for one made of silicone or stretchy fabric that can be wiped clean as needed.
Clean Your Keyboard Regularly
About once per week, turn your keyboard upside down and gently shake it to dislodge any crumbs or buildup. Use a can of compressed air to spray away dust and debris that may accumulate between the keys over time. Wipe the surface gently with a microfiber cloth dampened slightly with water or a gentle cleaning solution. Make sure no liquid drips down into the internal components.
Use a Dusting Spray
Special dusting sprays made specifically for electronics can help remove dirt and debris from between keyboard keys and other hard-to-reach areas. Spray a small amount onto a microfiber cloth and wipe over the tops and sides of the keys. Do not saturate or allow liquid to drip inside. The spray helps grab and trap dust to keep keys clean longer.
Watch What You Eat and Drink Around Your Keyboard
Avoid eating or drinking around your keyboard as much as possible. Crumbs and spills between the keys can lead to stickiness or eventual corrosion. If an accidental spill does occur, turn the keyboard upside down to drain liquid immediately, then use an appropriate cleaner and microfiber cloth to gently wipe the area. You may need to use cotton swabs to reach between narrow spaces.
Taking these basic precautions greatly improves keyboard longevity and key function. But even if keys get stuck again despite care, this guide equips you to successfully troubleshoot and fix them!
So stay assured that a stuck 0 key doesn’t signal the end of a keyboard’s usefulness with some guided effort. Employ suitable solutions from cleaning to part replacements based on diagnostic checks. With persistence, you can get the 0 key and full numeric input capability restored without replacing the entire keyboard.
![[How to Fix] Control Key Stuck on Keyboard](https://keyboardhunter.com/wp-content/uploads/2023/10/Control-Key-Stuck-on-Keyboard-768x431.webp)