How to replace Acer Aspire 3 laptop keyboard?

Hey there! If you’re reading this, chances are your Acer Aspire 3 laptop keyboard isn’t quite cooperating, and you’re looking for a fix. Trust me, I’ve been there! A faulty keyboard can be incredibly frustrating, turning even simple tasks into a chore. The good news is that replacing a laptop keyboard, especially on models like the Acer Aspire 3, is a very doable DIY project for many folks with a bit of patience and the right tools.
So, what typically goes wrong? Well, the most common culprit, in my experience, is a good old liquid spill. Coffee, soda, water – they’re all enemies of delicate electronics. Even a small spill can short out keys or entire sections of the keyboard, making them unresponsive or causing them to act erratically. Beyond spills, everyday wear and tear can also take its toll. Keys might start sticking, feeling mushy, or completely stop registering presses due to dirt, dust, or even crumbs getting trapped underneath. Sometimes, physical damage from a drop or impact can also mess things up. Before you dive into a replacement, it’s always smart to rule out simpler issues, which we’ll cover in a bit.
Replace Acer Aspire 3 Keyboard: Video Guide
Quick Sanity Checks Before You Replace Acer Aspire 3 Keyboard
Before you commit to cracking open your laptop and replacing the keyboard, let’s do a few quick checks. Trust me, you don’t want to go through all that effort just to realize it was a simple software glitch!
- Reboot Your Laptop: This might sound too simple, but a quick restart can often resolve temporary software conflicts or driver issues that might be affecting your keyboard. Give it a try!
- Check for Driver Updates: Sometimes, outdated or corrupted keyboard drivers can cause problems. Head into your Device Manager (you can search for it in Windows), find “Keyboards,” right-click your keyboard, and select “Update driver.” You can also try uninstalling the driver and restarting your laptop to let Windows reinstall it automatically.
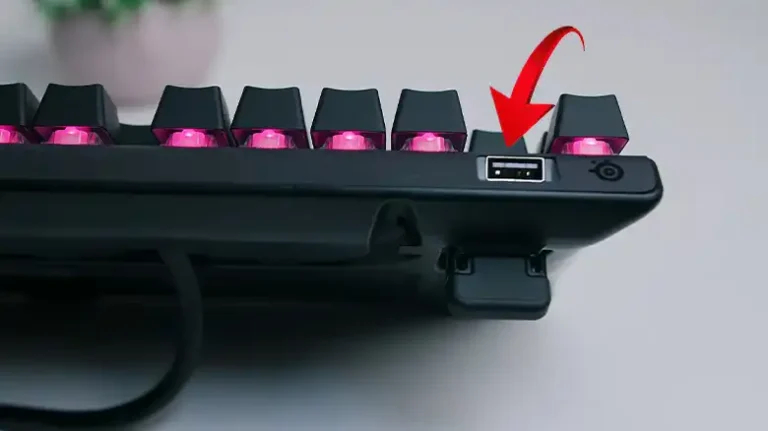
- Test with an External Keyboard: Grab any USB keyboard you have lying around and plug it into your Acer Aspire 3. If the external keyboard works perfectly, it strongly suggests a hardware issue with your laptop’s integrated keyboard. If the external one also doesn’t work, you might have a deeper operating system or motherboard problem.
- Check Accessibility Settings: Believe it or not, sometimes “Sticky Keys” or “Filter Keys” in Windows accessibility settings can make your keyboard seem like it’s not working correctly. It’s rare, but worth a quick check in your Windows settings.
Step-by-Step Guide: How to Replace Acer Aspire 3 Keyboard
Alright, if you’ve done your sanity checks and the built-in keyboard is still giving you grief, it’s time to replace it. This guide will walk you through replacing the Acer Aspire 3 keyboard. I’ll share my insights to make this as smooth as possible!
What you’ll need:
- A new replacement keyboard for your Acer Aspire 3 (make sure it’s the correct model!)
- Small Philips head screwdriver (PH0 or PH1 usually works)
- Plastic prying tools (spudgers)
- Anti-static wrist strap (recommended for safety)
- A clean, well-lit workspace
Step 1: Power Down and Disconnect Everything
First things first, safety! Power off your Acer Aspire 3 completely. Don’t just close the lid; go to Start > Power > Shut down. Once it’s off, disconnect the power adapter and remove any peripherals like USB drives, external mice, or headphones. You want a clean slate to work with.
Step 2: Remove the Bottom Cover
Flip your laptop over so the bottom is facing up. You’ll see a bunch of screws holding the bottom cover in place. Carefully remove all of these screws. Keep them organized – some laptops might have screws of different lengths, and you don’t want to mix them up! A small magnetic mat or an egg carton works wonders for this. Once all the screws are out, use your plastic prying tool to gently work your way around the edges of the bottom cover, releasing the plastic clips. Take your time with this step; you don’t want to break any clips.
Step 3: Disconnect the Battery
With the bottom cover off, the first thing you should always do is disconnect the internal battery. This prevents any accidental shorts while you’re working inside the laptop. Locate the battery connector – it’s usually a wide, flat connector with several wires running into it. Gently pull it straight up and out of its socket.
Step 4: Locate and Disconnect Keyboard Cables
Now, let’s find the keyboard. On many Acer Aspire 3 models, the keyboard is integrated into the top case, meaning you’ll need to remove other components to get to its ribbon cables. You’ll typically find one or two ribbon cables coming from the keyboard. These are usually wide, flat, and connected to the motherboard with small ZIF (Zero Insertion Force) connectors. To disconnect them, you’ll need to gently flip up the small retaining flap (usually black or brown) on the connector, then you can slide the ribbon cable out. Be extremely careful here; these connectors are delicate! If there’s a backlight, there might be a second, smaller ribbon cable for that as well.
Step 5: Remove the Old Keyboard (and Top Case)
This is often the trickiest part for Acer Aspire 3 models because the keyboard is usually riveted or melted into the palm rest assembly (the top case). This means you often have to replace the entire top case assembly, or if you’re feeling adventurous and the new keyboard allows, you might have to carefully remove hundreds of plastic rivets holding the old keyboard in place. The easiest and most recommended approach is often to replace the entire top case assembly that comes with a new keyboard pre-installed. If your replacement is just the keyboard, you’ll need to carefully unclip or unscrew any components attached to the old top case, like the touchpad cable, power button cable, and speakers, to transfer them to the new top case. Once these components are transferred, you can then secure the new keyboard/top case assembly.
Step 6: Install the New Keyboard
If you’re replacing the entire top case, simply position the new top case (with the keyboard) into place. If you’re replacing just the keyboard into your existing top case, ensure it sits flush. Reconnect all the components you detached in the previous step, such as the touchpad, speakers, and power button, to the new top case.
Step 7: Reconnect Keyboard Cables
Carefully slide the new keyboard’s ribbon cables back into their respective ZIF connectors on the motherboard. Make sure they are fully inserted and then gently flip down the retaining flap to secure them. Double-check that they are firmly seated.
Step 8: Reconnect the Battery and Reassemble
Plug the main battery connector back into its socket. Ensure it’s fully seated. Now, align the bottom cover and gently press it down until all the plastic clips snap back into place. Once the cover is secured, put all the screws back into their correct holes. Don’t overtighten them!
Step 9: Test Your New Keyboard
Flip your laptop back over, plug in the power adapter, and power it on. Once Windows loads, open a text editor (like Notepad) and test every single key on your new keyboard. Make sure all keys register correctly and feel right. If everything works, congratulations – you’ve successfully managed to replace Acer Aspire 3 keyboard!


![[Fixed] Magic Keyboard Key Stuck Down](https://keyboardhunter.com/wp-content/uploads/2023/09/magic-keyboard-key-stuck-down-768x431.webp)