How to Fix If Mouse and Keyboard Not Working When Plugged into Docking Station
Have you ever experienced a situation where your mouse and keyboard stop working when you plug them into your docking station? It can be a frustrating experience, especially if you rely on your docking station to connect your external devices to your laptop.
There are a few different reasons why your mouse and keyboard might not be working when plugged into your docking station. One possibility is that there is a problem with the docking station itself. Another possibility is that there is a problem with the drivers for your mouse and keyboard.
In this article, we’ll find out what the reasons are and what you should do to get the peripherals back in business! Let’s begin then!
Why Mouse and Keyboard Fail to Dance with the Docking Station?
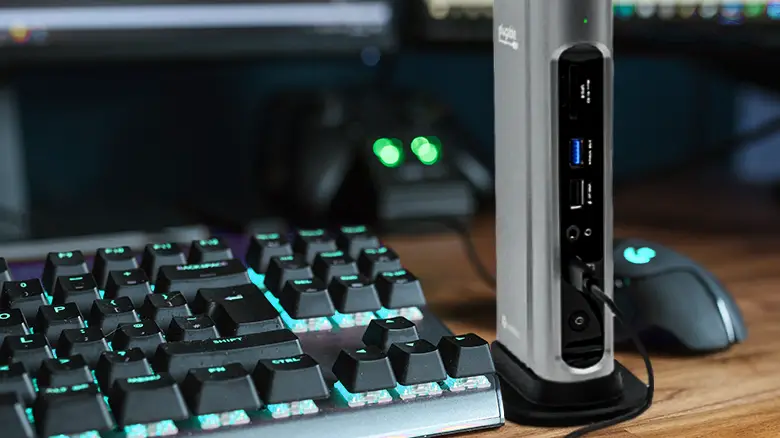
Before we dive into the solutions, let’s unravel the enigma surrounding this issue. There are several reasons why your mouse and keyboard may be giving you the silent treatment when connected to a docking station.
- Docking station not properly connected to the laptop – Make sure that the docking station is properly connected to your laptop. Check the cables and ports to make sure that everything is plugged in correctly.
- Docking station firmware outdated – Check the firmware on your docking station and make sure that it is up to date. Outdated firmware can cause compatibility issues with your mouse and keyboard.
- Docking stations not providing enough power – Some docking stations do not provide enough power to all of the devices that are connected to them. Try connecting your mouse and keyboard to different ports on the docking station to see if that resolves the issue.
- Mouse and keyboard drivers are outdated – Make sure that the drivers for your mouse and keyboard are up to date. Outdated drivers can cause compatibility issues with your docking station.
- Hardware conflict – It is also possible that there is a hardware conflict between your docking station and your mouse and keyboard. This can happen if you have two devices that are trying to use the same USB controller. Try disconnecting other USB devices from your docking station to see if that resolves the issue.
Now, let’s dive into the solutions and get your peripherals back in action.
How to Make Your Mouse and Keyboard Working with the Docking Station?
Here is a guide to help you connect your mouse and keyboard to the docking station and get them working properly.
Power Cycle the Docking Station
- Step 1 – Unplug the docking station from your laptop.
- Step 2 – Disconnect the docking station’s power cable from the power source.
- Step 3 – Wait for about 10 seconds.
- Step 4 – Reconnect the power cable to the docking station.
- Step 5 – Reconnect the docking station to your laptop.
- Step 6 – Check if your mouse and keyboard are now responsive.
Power cycling can help reset the docking station and resolve any power-related issues that might be causing the problem.
Try Other Ports on the Docking Station
Sometimes, the issue could be with a specific port on the docking station. Trying different ports can help determine if this is the case.
Step 1 – Disconnect your mouse and keyboard.
Step 2 – Plug them into different USB ports on the docking station.
Step 3 – Check if they work in the new ports.
If they start working in different ports, it’s likely that the original port was faulty or improperly configured.
Update the Keyboard and Mouse Driver
Outdated drivers are a common culprit for peripheral issues. Updating them is a straightforward fix.
- Step 1 – Right-click on the Start button and select Device Manager.
- Step 2 – Expand the Keyboards and Mice and other pointing devices categories.
- Step 3 – Right-click on your keyboard and mouse entries and select Update driver.
- Step 4 – Follow the on-screen instructions to search for and install updated drivers.
Update Intel Thunderbolt 3 and Intel Thunderbolt Controller Driver
If your docking station connects via Thunderbolt, updating these drivers can resolve compatibility issues.
- Step 1 – Visit the Intel website and locate the latest Thunderbolt 3 and Thunderbolt Controller drivers for your system.
- Step 2 – Download and install the drivers.
- Step 3 – Restart your computer.
Update Dock Station Firmware
To update docking station firmware, you will need to download the latest firmware update from the manufacturer’s website. Once you have downloaded the firmware update, you will need to follow the instructions that are provided by the manufacturer to install the update.
Here are the general steps on how to update docking station firmware:
- Step 1 – Go to the manufacturer’s website and find the support page for your docking station.
- Step 2 – Download the latest firmware update.
- Step 3 – Extract the firmware update file to your computer.
- Step 4 – Follow the instructions that are provided by the manufacturer to install the firmware update.
