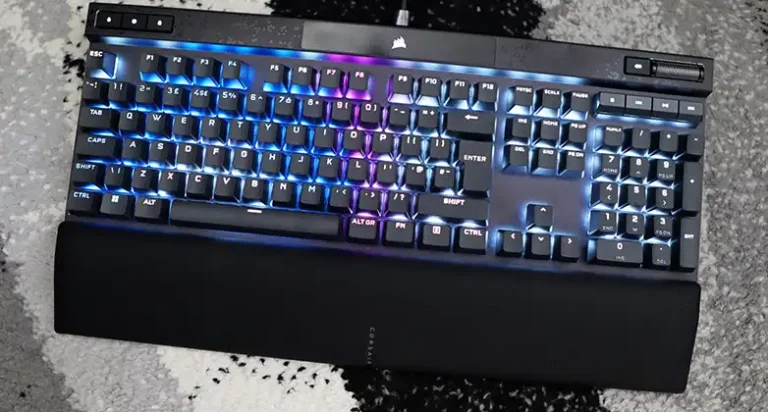
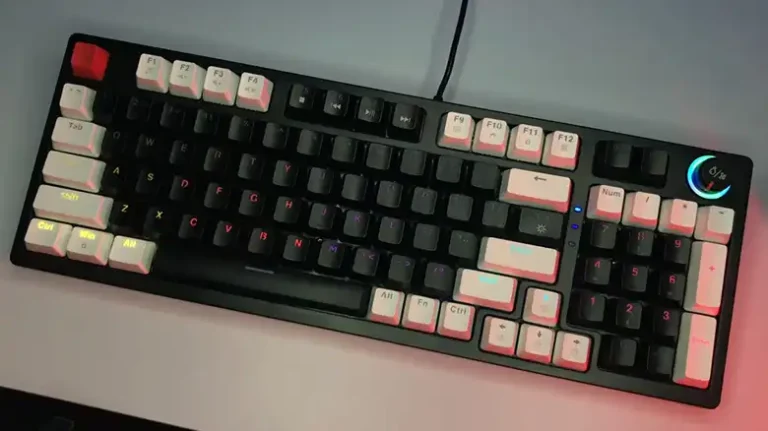
Mechanical Keyboard Not Working After Cleaning – What Can I Do?
Are you in a pickle because your beloved mechanical keyboard has decided to throw a tantrum after a thorough cleaning session Well, you’re not alone!
Accumulation of moisture or trapped water can damage the switches or PCB board and hence, your keyboard stopped acting like before. However, there are other reasons too. If the PCB board isn’t shorted then you can fix the keyboard.
In this article, we’ll dive deep into the reasons why your mechanical keyboard might refuse to cooperate post-cleanup and, more importantly, how to bring it back to life.

Why Mechanical Keyboard Isn’t Working After Cleaning?
Cleaning your mechanical keyboard is a commendable endeavor to keep it spick and span. However, sometimes, things don’t go as planned, and your keyboard might just stop working altogether. Let’s explore the possible culprits behind this conundrum
Moisture Mishap
If your cleaning process involved any liquid, even a tiny droplet, it could be wreaking havoc inside your keyboard. Mechanical keyboards are not fans of moisture, and a single drop can lead to electrical shorts or corrosion.
Disconnected Wires
During cleaning, it’s possible that you accidentally dislodged some wires or connectors inside your keyboard. These tiny components are crucial for transmitting key presses to your computer. A loose connection can render your keyboard non-functional.
Contact Cleaner Residue
If you used contact cleaner to clean your keyboard, there’s a chance that some residue may have been left behind. This residue can interfere with the electrical connections between the switches and the PCB, which can also cause the keyboard to malfunction.
Damaged Switch
A mechanical keyboard switch is a small electronic component that is responsible for registering keystrokes. It consists of a housing, a spring, and a stem. When you press a key, the stem pushes down on the spring, which closes a circuit and sends a signal to the computer. During the cleaning process, if water gets into the switch, it can cause electrical shorts or corrosion, which can prevent the keyboard from working properly.
Now that we’ve pinpointed potential issues let’s move on to the more pressing question
What to Do If the Mechanical Keyboard Stops Working After Cleaning
Don’t be afraid, dear keyboard enthusiast! Here’s a step-by-step guide to resurrecting your mechanical keyboard after a cleaning-induced coma
Let the Keyboard Dry Completely
Water is a conductor of electricity, so if any water gets into the electrical components of your keyboard, it can cause a short circuit. This can damage the keyboard and prevent it from working properly.
Let your keyboard dry completely. This will help to evaporate any water that may have gotten into the keyboard and prevent any short circuits from occurring.
Try Using A Hair Dryer
A hairdryer can be a useful tool for drying out your keyboard after cleaning, but it’s important to be careful not to use too much heat. Too much heat can damage the keyboard’s plastic components and cause the solder to melt.
To use a hair dryer to dry your keyboard, follow these steps:
- Set the hair dryer to the lowest heat setting.
- Hold the hair dryer about 6 inches away from the keyboard and blow air over the entire surface.
- Be sure to focus on the areas where water may have accumulated, such as the keycap wells and the seams between the keycaps and the keyboard body.
- Blow air for at least 15 minutes, or until the keyboard is completely dry.
It’s important to be patient and not rush the drying process. If you don’t give the keyboard enough time to dry completely, you risk damaging it.
Clean The Switches With A Cotton Swab
Isopropyl alcohol (IPA) is a good solvent for cleaning electronic components. It is non-conductive, so it will not damage the PCB. However, it is important to be careful not to get any IPA on the PCB, as this can cause the solder to dissolve.
To clean the switches with IPA, follow these steps:
- Dip a cotton swab in IPA.
- Gently swab the switch housing, avoiding the PCB.
- Be sure to clean all of the sides of the switch housing.
- Repeat steps 2 and 3 for all of the switches on your keyboard.
Once you have finished cleaning the switches, be sure to let the keyboard dry completely before using it again.
If You Used Contact Cleaner
Contact cleaner is a good solvent for cleaning electrical contacts, but it can leave behind a residue that can interfere with the electrical connections. If you used contact cleaner to clean your keyboard, it’s a good idea to try cleaning the switches with a cotton swab dipped in distilled water.
Distilled water is a pure form of water that does not contain any impurities. This makes it safe to use on electronic components without damaging them.
Replace the Switches (if you are using hot swappable keyboard)
If you have tried all of the other troubleshooting steps and your mechanical keyboard is still not working, you may need to replace the switches. This is a relatively simple process, but it can be daunting if you’re not comfortable taking your keyboard apart. To replace the switches:
- Disassemble the keyboard.
- Identify the bad switch.
- Remove the old switch.
- Clean the socket.
- Install the new switch.
- Resolder the switches.
- Assemble the keyboard.
With these troubleshooting steps, you have a good chance of reviving your mechanical keyboard’s functionality. Remember, patience is key (pun intended) when dealing with these intricate devices.
Conclusion
In summary, moisture, loose wires, dust, and keycap misalignment are common culprits when your mechanical keyboard stops working after cleaning. The good news is that most issues can be resolved with careful inspection and troubleshooting. If all else fails, don’t hesitate to seek professional assistance.
We hope this guide has been helpful in troubleshooting your keyboard woes. If you have any more questions or need further assistance, please feel free to leave a comment below. We’re here to help you get your mechanical keyboard back in action!
FAQ (Frequently Asked Questions)
Can I use a vacuum cleaner to clean my mechanical keyboard
It’s not recommended to use a vacuum cleaner directly on a mechanical keyboard as it may damage sensitive components. Stick to using compressed air for safe cleaning.
How often should I clean my mechanical keyboard?
Cleaning your mechanical keyboard every few months is a good practice to prevent dust buildup and maintain optimal performance.
Can I use alcohol-based cleaning solutions on my keyboard?
It’s best to avoid alcohol-based solutions as they can damage keycap legends and the keyboard’s finish. Stick to using isopropyl alcohol sparingly if necessary.
What should I do if keyboard keys feel sticky after cleaning?
Sticky keys may indicate residue from your cleaning process. Remove the affected keycaps, clean them thoroughly, and ensure they are dry before reattaching them.
Is it safe to clean my mechanical keyboard while it’s connected to my computer?
No, it’s not safe to clean a connected keyboard as accidental keypresses during cleaning can cause issues. Always disconnect the keyboard before cleaning.
![[Fixed] Bluetooth Keyboard Not Recognized at Startup Mac](https://keyboardhunter.com/wp-content/uploads/2023/10/Bluetooth-Keyboard-Not-Recognized-at-Startup-on-Mac-768x431.webp)