How to Switch On Dell Wireless Keyboard? Check This Out!
Dell wireless keyboards offer a convenient solution for those who want to type and control their computer from a distance. Before you can fully enjoy the benefits of this wireless technology, it’s essential to set up your Dell wireless keyboard correctly.
Basically, you need to set up your Dell wireless keyboard, install the batteries, turn it on, connect it wirelessly using a USB receiver or Bluetooth, and ensure a stable power LED. Your keyboard is ready for use within an 8–10-meter wireless range.
This comprehensive guide will walk you through the entire process, providing in-depth instructions and additional information to make the setup seamless.
Dell Wireless Keyboard Varieties
Dell’s range of wireless keyboard models comes in various designs, featuring advanced functionalities such as programmable keys. These keyboards operate by transmitting data over a wireless signal, eliminating the need for cumbersome cables. Dell keyboards can establish wireless connectivity in two primary ways: using a USB receiver dongle or Bluetooth technology. Additionally, they are powered by AA or AAA batteries, and under normal usage, you can expect a battery life ranging from 4 to 8 months.
Step-by-Step Setup Instructions
When it comes to getting your Dell wireless keyboard up and running, clarity is key. In this section, we’ll provide you with a detailed roadmap to ensure a seamless setup process. From battery installation to wireless connectivity, I’ve got you covered.
1. Install Batteries
Before you can power up your Dell wireless keyboard, you need to install batteries. Locate the battery compartment, typically on the underside of the keyboard, and slide open the cover. To ensure proper installation, match the + and – symbols when inserting either 2 AA or 2 AAA batteries, depending on your keyboard model. For exact battery specifications for your specific keyboard version, consult Dell’s support site. Once the batteries are correctly installed, replace the cover securely.
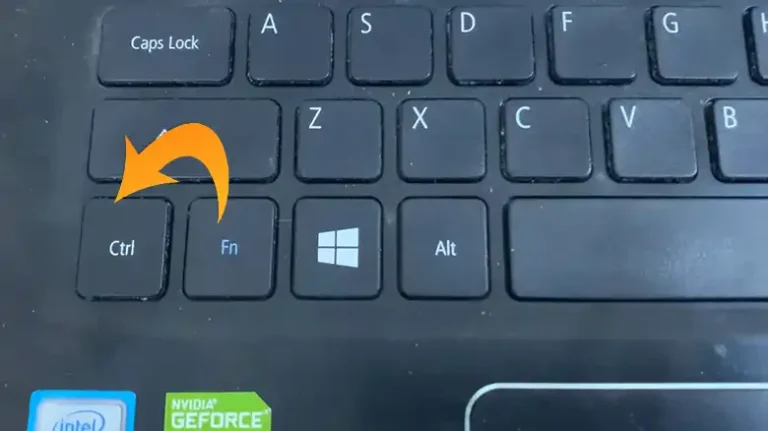
2. Turn on the Power
To activate your Dell wireless keyboard, find the power switch. The location of this switch may vary depending on the keyboard model, and you can typically find it along the top function key row, on the side, or the underside of the keyboard. Toggle the switch to the ‘On’ position, and look for the power LED to blink, indicating that the keyboard is now powered up.
3. Connect to the Computer Wirelessly
To use your Dell wireless keyboard, you need to establish a wireless connection with your computer. There are two options for doing this –
A) Using a USB Receiver
If your keyboard comes with a wireless USB receiver dongle, take it from the keyboard’s packaging. Plug the receiver directly into an open USB port on your computer. The keyboard will automatically sync when powered up, provided it’s within the wireless range. In case the synchronization fails, you can install the Dell Peripheral Manager software from Dell’s support site.
B) Connect via Bluetooth
Before proceeding, ensure that your computer has Bluetooth functionality enabled and is discoverable. Press the Bluetooth pairing button on the keyboard to activate pairing mode. On your computer, navigate to Bluetooth settings and select the keyboard when it appears, establishing a link between the two devices.
4. Verify Connectivity and Start Using
Once the wireless connection is successfully established, the keyboard’s power LED will stop blinking and remain static. To ensure proper functionality, try typing on the keyboard to control your computer. You can now take advantage of all the keys and shortcuts available on your Dell wireless keyboard. Just remember to keep the keyboard within the maximum wireless range of 8-10 meters for optimal performance.
Tips for Trouble-free Usage
To ensure uninterrupted usage of your Dell wireless keyboard, consider the following tips –
- Regularly check battery levels and proactively replace batteries when needed.
- For USB receiver models, use the same USB port on your computer for consistency.
- Keep the keyboard away from potential sources of interference, such as other electronic devices.
- In case you encounter wireless connectivity issues, consult the user documentation for troubleshooting guidance.
- If problems persist, don’t hesitate to contact Dell technical support for further assistance.
Conclusion
Setting up a new Dell wireless keyboard is a quick and straightforward process, provided you carefully follow the installation instructions. This includes inserting the batteries, turning on the power, establishing wireless connectivity via the USB dongle or Bluetooth, and testing the keyboard to verify its correct functioning. With your keyboard successfully connected wirelessly to your computer, you can enjoy the freedom and flexibility of typing from anywhere within its wireless range. Dell’s wireless keyboards are designed for convenience and performance, making them a valuable addition to your computing setup.
Frequently Asked Questions
1. How do I turn off a Dell wireless keyboard?
Simply flip the power switch on the keyboard to the ‘Off’ position to turn it off. The LED light will turn off to indicate it is powered down.
2. My wireless keyboard is not connecting properly. What should I do?
a. Try replugging the wireless receiver into your computer.
b. Check if the keyboard’s batteries need replacing.
c. Make sure no obstacles block the connection between the keyboard and the receiver.
d. Try re-pairing the keyboard with your computer’s Bluetooth settings.
3. Can I use the same Dell wireless keyboard with multiple devices?
Yes, you can pair and use a Dell wireless keyboard with multiple devices like computers, tablets, and phones. However, it can actively connect with only one device at a time.
4. How far can I use the keyboard away from the computer?
Most Dell wireless keyboards have an effective wireless range of up to 30 feet or 10 meters. The range may reduce depending on interference and obstacles.
5. How long do the batteries last in a wireless keyboard?
On average, a set of new AA batteries will last 4-8 months with normal use before needing replacement. Turning the keyboard off when not in use will help conserve battery life.
![[Answered] Can You Play Dark Souls with Keyboard and Mouse?](https://keyboardhunter.com/wp-content/uploads/2023/05/Can-You-Play-Dark-Souls-with-Keyboard-and-Mouse-768x431.webp)