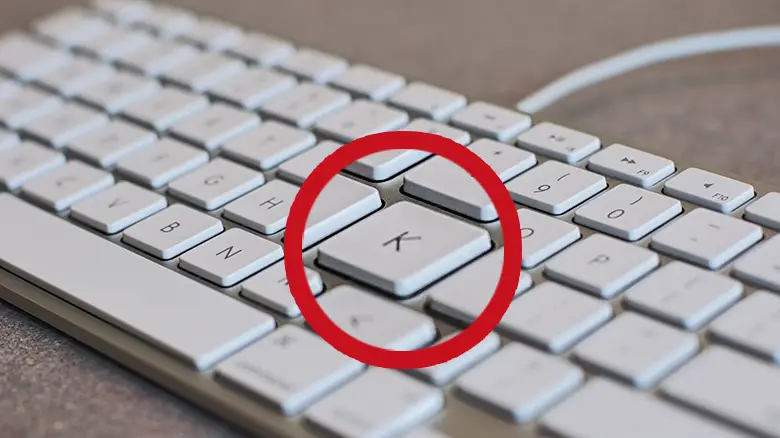
K on Keyboard Not Working – Solutions Here
If you’re reading this article, you’ve probably encountered one of the most frustrating issues a keyboard can have – the ‘K’ key isn’t working. It’s as if your keyboard has decided to go on a coffee break but without your consent! Don’t worry; we’ve got your back.
This issue occurs if dust accumulates beneath the key cap or if the key switch is damaged; cleaning or replacing the switch will be your available option to fix the issue.
In this article, we’ll dive deep into why the ‘K’ key on your keyboard might have gone rogue and, more importantly, how to make it work again. So, let’s roll up our sleeves (or should we say, ‘fold down our keys’) and get to the bottom of this issue.
Why K on Keyboard Isn’t Working
Before we start troubleshooting, let’s understand why your trusty ‘K’ key might have decided to take a break. There could be several reasons for this issue
Dust and Debris
One common culprit is dust and debris that accumulate beneath your keyboard keys over time. These tiny particles can interfere with the key’s mechanism, preventing it from registering your presses.
Hardware Damage
Accidental spills or physical damage can affect the key’s functionality. If your keyboard has seen better days, a damaged switch might be the root cause of the ‘K’ key problem.
Outdated Drivers
Just like any other hardware, your keyboard relies on drivers to communicate with your computer. Outdated or corrupted drivers can lead to key malfunctions.
Disabled Key
A software keyboard mapping program is like a switchboard that controls all of the keys on your keyboard. If you disable a key in the software keyboard mapping program, it will be like disabling the switch in the analogy above. The key will not work, even if you press it.
How to Make the K Key Work Again
Now that we’ve pinpointed the potential culprits let’s roll up our sleeves and get to work on fixing that stubborn ‘K’ key.
Way 1 – Clean the K-Switch
If your keyboard is dirty, give it a spa day!
- Unplug your keyboard.
- Carefully remove the K keycap using a keycap puller or a flat tool.
- Clean the area beneath the keycap using compressed air or a soft brush.
- Reattach the keycap, ensuring it clicks back into place.
Way 2 – Check for Hardware Damage
Inspect your keyboard for any visible damage.
- Look for physical damage to the K switch, keycap, or PCB.
- If you find any issues, consider replacing the damaged components.
Way 3 – Update the Keyboard Driver
Keep your keyboard’s communication lines fresh.
- Go to your computer’s Device Manager.
- Find the Keyboards section, right-click on your keyboard, and select Update driver.
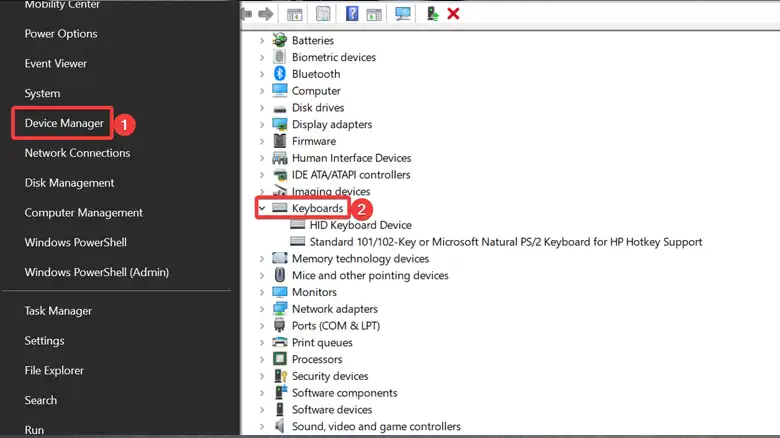
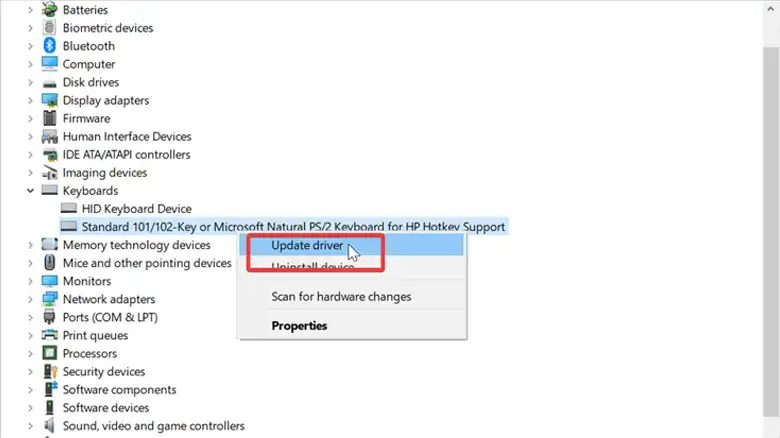
- Follow the on-screen instructions to update the driver.
Way 4 – Replace the K Key Switch If You Are Using a Hot Swappable Keyboard
Sometimes, you need to swap out the switch itself.
- Unplug your hot-swappable keyboard.
- Remove the K switch using a switch puller.
- Replace it with a new switch of the same type.
- Reassemble your keyboard and test the ‘K’ key.
Way 5 – Enable K Key
Some software keyboard mapping programs allow you to disable individual keys. If you’re using one of these programs, and you’re having trouble with your K key, make sure that the K key is enabled.
To check if the K key is enabled in your software keyboard mapping program, follow these steps:
- Open your software keyboard mapping program.
- Find the list of keys that you can map.
- Look for the K key in the list.
- If the K key is grayed out, it means that it is disabled.
- To enable the K key, click on it to select it.
- Click on the Enable button.
What Should Be Done to Prevent the Issue for Other Keycaps on the Keyboard
Prevention is the best cure, as they say. To avoid future key malfunctions, consider these tips
Regular Cleaning
Keep your keyboard clean by routinely removing keycaps and cleaning beneath them.
Avoid Spills
Be cautious around your keyboard to prevent liquid spills. A waterproof keyboard cover can be a lifesaver.
Software Updates
Keep your keyboard drivers up to date to ensure smooth communication with your computer.
Use Soft Keycaps
If you’re prone to heavy typing, consider using softer keycaps that put less strain on the switches.
Avoid Remapping Key
To avoid this kind of problem, it’s important to reset your key mappings after finishing every game. This way, you can be sure that your keys are back to their default settings when you start playing your next game. Otherwise, when you are in a rush, this thing can lead you to break your fingers toy!
Conclusion
In the world of tech troubles, a malfunctioning ‘K’ key on your keyboard might seem like a minor inconvenience, but it can disrupt your workflow and cause endless frustration. By following the steps outlined in this article, you can usually get your ‘K’ key back to its normal, reliable self.
If you have any questions or need further assistance with keyboard problems, feel free to leave a comment below. We’re here to help you get back to typing with ease!
People Also Ask – PAA
Can I replace my keyboard K key on the membrane keyboard?
Replacing a switch is quite easy on a hot-swappable keyboard as it helps to change the specific key switch. But for membrane keyboards, it’s still possible but quite tricky. You will need to solder the key switch to change it.
What is the alternative key for K on a keyboard?
There isn’t any alternative available for key K. If you are using a membrane keyboard then you can use keyboard mapping software to make any other key function like the K key. It’s the only alternative way you might have.
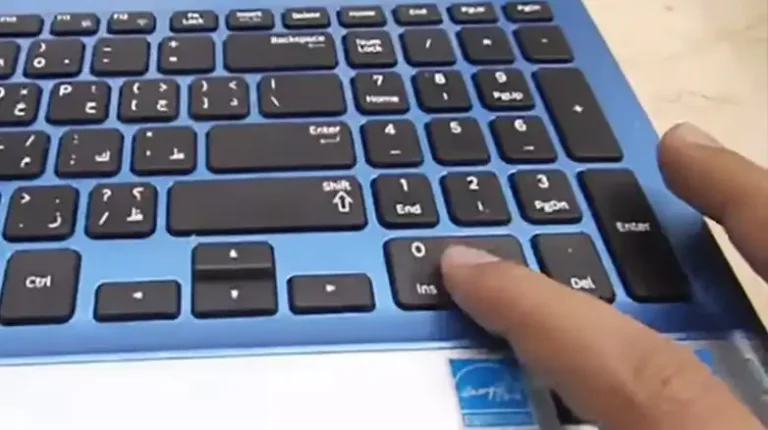
Why is my K key typing 2?
It’s a very rare case but if you are having such kind of issue then you will need to turn off the Num lock on your keyboard. Then you won’t 2 when you stroke the K key.