How to Connect Dell Wireless Keyboard? Simple Methods
Connecting a keyboard to a PC or laptop is very straightforward and easy work to do. Just simply plug n play with your keyboard. But, when it comes to wireless keyboards, you will need to do a few extra works like setting up the receiver, pairing, connecting, and so on.
If you are looking for a connecting guideline for your Dell wireless keyboard then you are at the very right place. You will need to follow a few simple steps and then you will be able to connect and start using your keyboard.
Here we have provided the steps that you will need to accomplish your job. So, take your equipment, prepare your device, and let’s create a relationship between your keyboard and computer. Let’s begin then!

Procedure for Connecting Dell Wireless Keyboard
There are two types of wireless Dell keyboards. One can connect with a single device and another one can connect with multiple devices. The connection procedure is also different as well. Here we have provided the procedures –
1. Connecting Procedure for Regular Dell Wireless Keyboard
The process is pretty simple. By following a few simple steps, you can do so. Here are the steps that you will need to follow –
- First, connect the unifying USB to your PC.
- Now, turn on your Dell keyboard.
- After that, go to Settings and then navigate to Bluetooth.
- Click on Add Bluetooth or other devices.
- On the next window, you will find your Keyboards name, click on it, pair the keyboard with your PC, and then start enjoying your new Dell keyboard.
2. Connecting Procedure for Dell Wireless Keyboard that Can Connect to Multiple Devices
This type of keyboard can be connected to 3 devices and you can switch the keyboard to use with that particular device. Now, follow the steps below.
- Connect the USB receiver to your PC.
- Now, turn on your Dell wireless keyboard.
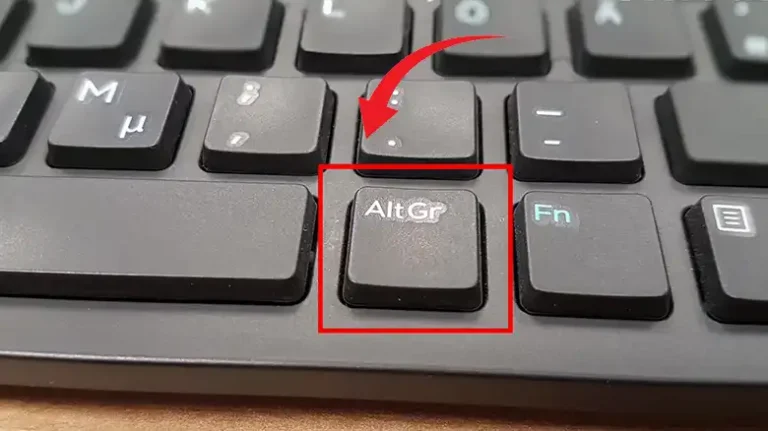
- There you will Connection Mode button or 3 extra keys named 1, 2, and 3. Press the button and hold it for 3 seconds. By doing so, the keyboard will be in pairing mode.
- Next, navigate to Bluetooth settings in your PC/laptop, and turn Bluetooth on.
- Click on add device, and choose Dell Wireless keyboard from there.
- When you will send a Pair request from your PC, it will provide a code. Type that code on your Dell wireless keyboard and Valla, you have successfully paired and connected your Wireless keyboard to your PC.
Frequently Asked Questions and Answers – FAQs
Why is my Dell wireless keyboard not working?
If you are using a Dell wireless keyboard that is capable of connecting 3 devices at a time then you might have chosen the wrong device. And that’s why it isn’t working. To make it clear, let’s assume you have connected the keyboard with iPad but you are currently using it on your Mac. So, switch your keyboard to Mac and check.
What is the time limit for pairing a Dell wireless keyboard with a PC?
After putting your Dell wireless keyboard into pairing mode, you will have 3 minutes or 180 seconds to pair the keyboard and PC. Otherwise, it will turn off, and you will have to start the work from the beginning.
Conclusion
Lastly, connecting a Dell wireless keyboard to a device isn’t that hard. Just you will have to know the actual process. As aforementioned, the process can be different for different models of Dell wireless keyboards. So, find out which type of keyboard you are using and then follow the steps properly. If you have any further queries or face any difficulties when connecting the keyboard then don’t hesitate to comment below. We are here to help you out!