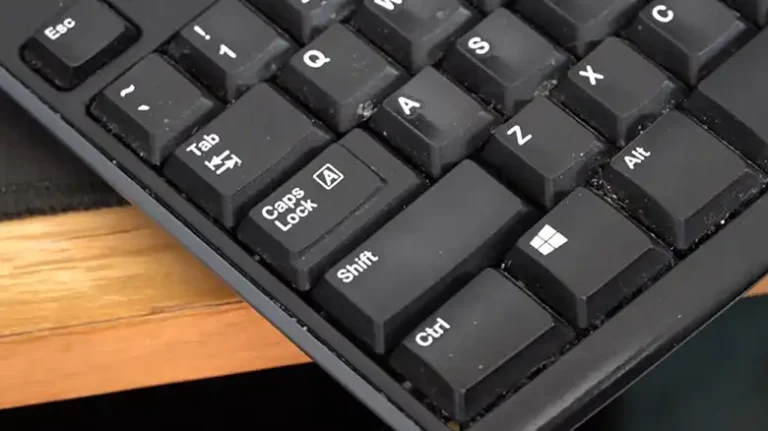
Q Key Stuck | How Do I Fix?
Are you feeling stuck with a stubborn Q key on your keyboard It’s a common issue that can throw a wrench into your typing flow and make you want to shout, Why is this happening Well, fear not, because in this article, we’ll delve into the mysteries of why the Q key gets stuck and, more importantly, how to free it from its adhesive prison.

Why is Q Key Stuck?
There are several reasons behind this issue. Here we have provided the reasons behind it –
Problem of Dust
One of the primary culprits behind your Q key’s sudden refusal to cooperate is dust and debris accumulation. Over time, tiny particles can find their way under the keycap, preventing it from returning to its original position after a press. This leads to that frustrating feeling of the key being stuck.
Spilled Drink on the Keyboard
Accidents happen, and if you’ve ever spilled your morning coffee or soda on your keyboard, you might have a sticky situation on your hands. Liquid spills can cause keys to become stuck, as the residue from the spill can make the key mechanism gummy.
Mechanical Malfunctions
In the case of mechanical keyboards, the issue might be more complex. Mechanical switches can wear out over time, causing key sticking problems. This is especially true if you’ve been pounding away on your keyboard for years.
How to Take the Q Key Out from Stuck Condition?
Now that we’ve explored the reasons behind the Q key’s stickiness, let’s get to the good stuff how to fix it!
For Membrane Keyboard
If you’re using a membrane keyboard, here’s a step-by-step guide to unstick that Q key –
- Power Off – First, power off your computer or disconnect the keyboard to prevent any accidental keypresses.
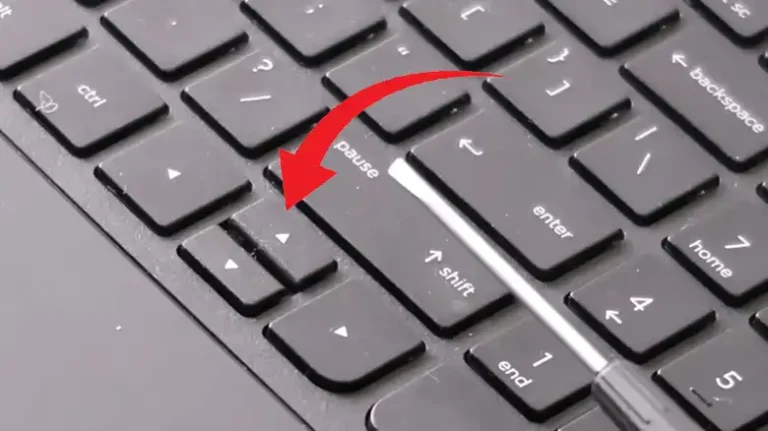
- Keycap Removal – Use a keycap puller or a flat tool to gently pry off the Q keycap. Be careful not to damage the keycap or the underlying mechanism.
- Cleaning Time – Once the keycap is off, inspect the area for any dust or debris. Use compressed air or a soft brush to remove any obstructions.
- Reassembly – Carefully place the keycap back in its original position, ensuring it clicks into place.
- Test It Out – Turn your computer back on and test the Q key. It should now work smoothly.
However, you can also try to replace the keycap. If the keycap is damaged then it will stuck and fail to work properly. In this case, you can change the keycaps to try your luck. After cleaning up, if still you are having the issue, then it’s high time to buy a new keyboard for yourself.
For Mechanical Keyboard
If you’re dealing with a mechanical keyboard, the process is a bit more involved. You will need to clean the keyboard and the switches and if still you are having the issue then you can follow the following procedure below –
Isolate the Issue
Identify the specific switch that’s causing the problem. You can do this by pressing the Q key multiple times and observing which one feels different.
Desoldering
To replace the problematic switch, you’ll need to desolder it from the keyboard PCB. This requires a soldering iron and some soldering skills. If you’re not comfortable with this, consider seeking professional help.
If you are using a hot-swappable key then you can change the switch without desoldering the switch. Just, take a switch puller and remove the switch with the help of it.
Switch Replacement
Once the faulty switch is removed, replace it with a new one of the same type. Make sure it’s properly soldered in place. If you use a hot-swappable keyboard, there is no need for soldering.
Testing
Reassemble your keyboard and test the Q key to ensure it’s no longer stuck.
What If the Q key is Still Stuck?
After following the aforementioned solutions, if the issue persists then what o do? Replacing the keyboard due to a single key issue is quite frustrating, isn’t it? Well, if you are not in a situation of buying a new keyboard then you can do two things.
- Use On-Screen Keyboard.
- Disable the Q key.
To open the on-screen keyboard, press the Windows + Ctrl + O buttons and open the On-screen keyboard.
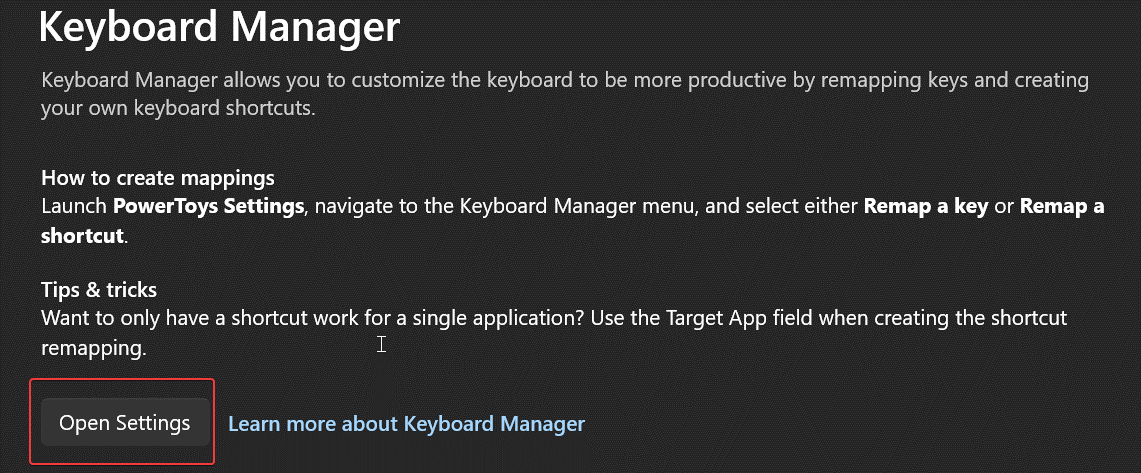
If you want to disable the Q key, then first, download the Microsoft PowerToys software.
- Open PowerToys and click on the Keyboard Manager tab.
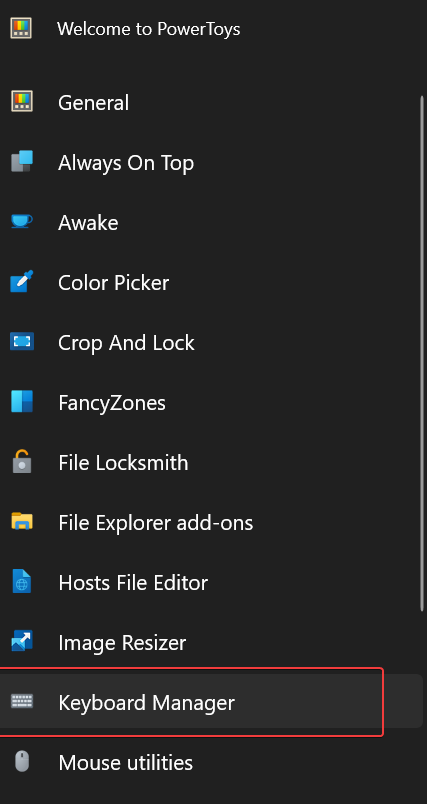
- Then go to Settings and click on the Enable Keyboard Manager toggle switch.
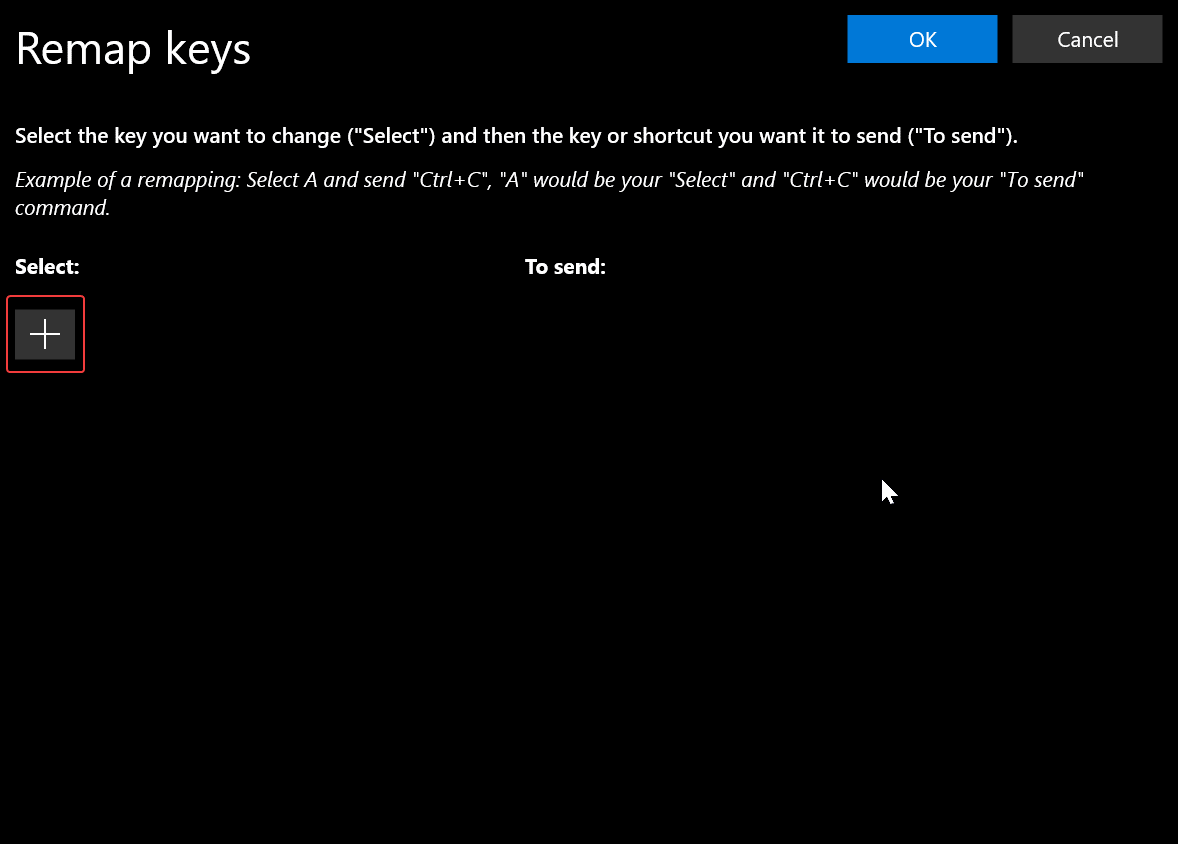
- Now, click on the Remap key.
- On the next window, click on the + icon and choose the Q key by using the On-screen keyboard.
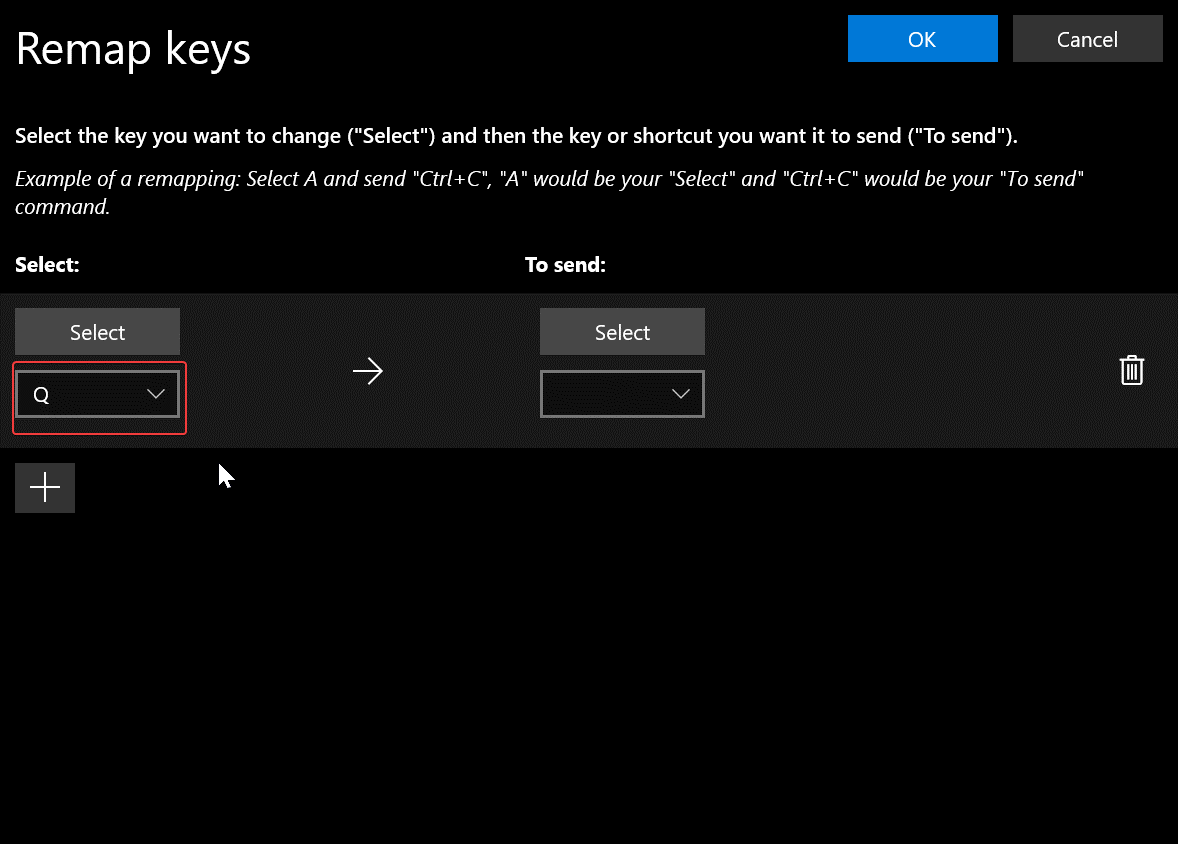
- Then, at the right pane, select Disable.

- After changing, click on OK to save the change.
End Notes
In conclusion, having a Q key that is stuck can be quite frustrating and annoying., but it can usually be resolved with some patience and the right approach. Regular cleaning can prevent many problems, while mechanical keyboard users may need to become familiar with switch replacement techniques.
Remember, the key to keeping your keyboard in tip-top shape is maintenance and swift action when issues arise.
Frequently Asked Questions
How often should I clean my keyboard to prevent key-sticking issues?
It’s a good practice to clean your keyboard every few months to prevent dust buildup. However, if you frequently eat or drink near your keyboard, you may need to clean it more often.
Is it possible to fix a sticky Q key without removing the keycap?
While it’s possible to attempt cleaning without removing the keycap, it’s not recommended. Removing the keycap allows for a more thorough cleaning and ensures the problem is properly addressed.
Can I use a lubricant to prevent key sticking on a mechanical keyboard?
It’s generally not advisable to use lubricants on mechanical switches unless you’re experienced with keyboard maintenance. Using the wrong type of lubricant or applying it incorrectly can lead to further issues.
What’s the best way to prevent liquid spills from causing key sticking on a keyboard?
The best preventive measure is to keep liquids away from your keyboard. Consider using a spill-resistant keyboard cover if you’re particularly accident-prone.
![[5 Solutions] Quotation Marks on Keyboard Not Working in Windows 10](https://keyboardhunter.com/wp-content/uploads/2023/10/Quotation-Marks-on-Keyboard-Not-Working-in-Windows-10-768x431.webp)